Have you ever encountered these situations?
- Rough cutting surfaces with severe dross, requiring time-consuming secondary processing?
- Molten slag always sticking during small hole cutting, compromising precision?
- Still can't achieve a clean cut after repeated adjustments, causing productivity to plummet?
Dross issues might seem minor, but they cause major headaches!
They not only affect product appearance but also reduce capacity and increase costs.
Don't worry! We've prepared this 【Laser Cutting Dross First-Aid Guide】 for you.
Follow these 4 routine troubleshooting steps to achieve perfect cuts that meet requirements!
Check Output Power
Problems:
Insufficient power fails to cut through, causing molten residue to accumulate into bumps.
Excessive power widens the kerf and roughens the cutting surface.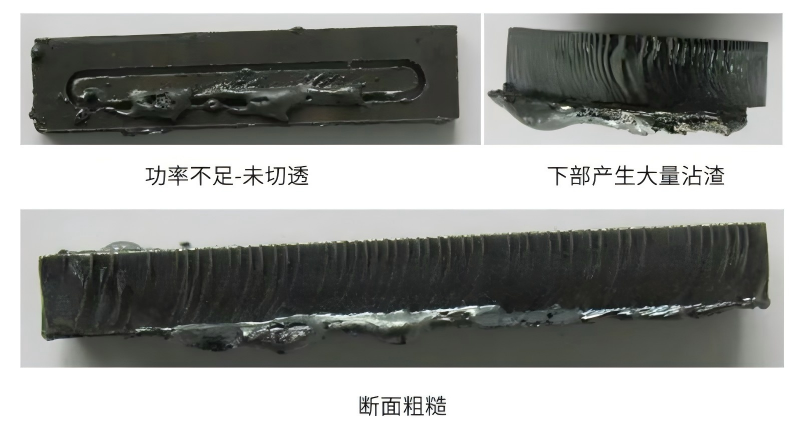
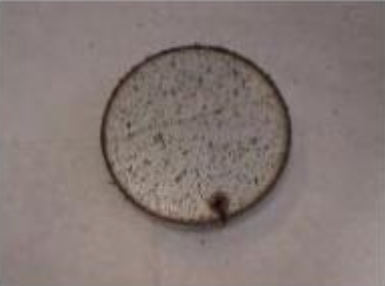
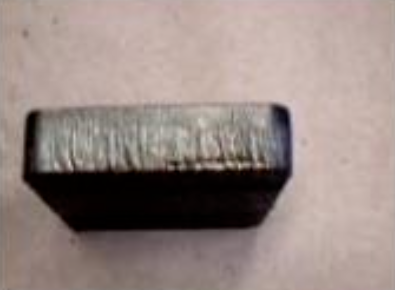
Problems occurring when laser power is insufficient for cutting mild steel plate
Solution: Readjust and set appropriate laser output power based on material type and thickness.
TIPS: "Targeted solution" – power is the foundation.
Check Gas Pressure
Assist gas (e.g., O₂, compressed air, N₂) is crucial in laser cutting – it blows away molten slag and cools the kerf, effectively protecting material properties. For materials like carbon steel, oxygen is recommended as it reacts with metal to improve cutting speed and efficiency.
Problems:
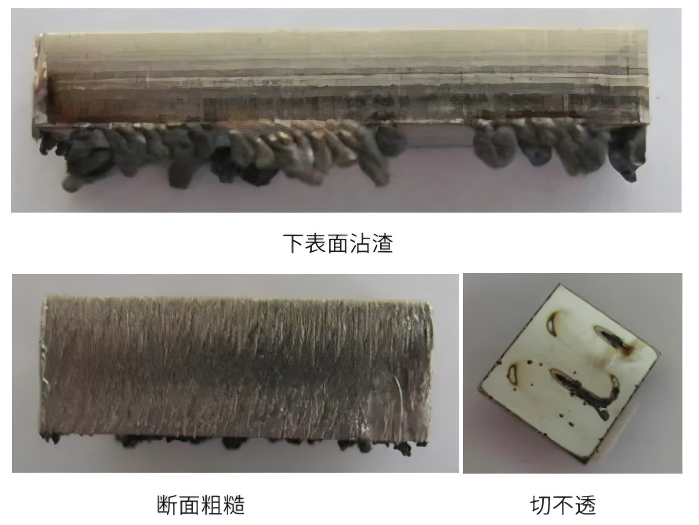
Excessive assist gas pressure causes vortices on the material surface, reducing molten material removal ability, resulting in wider kerfs and rough surfaces.
Insufficient pressure fails to completely blow away molten material, causing slag adhesion on the lower surface.
Solution: Adjust assist gas pressure (O₂, N₂, air, etc.) to find the optimal value that steadily removes slag.
TIPS: Gas is the "scavenger" – its force must be just right.
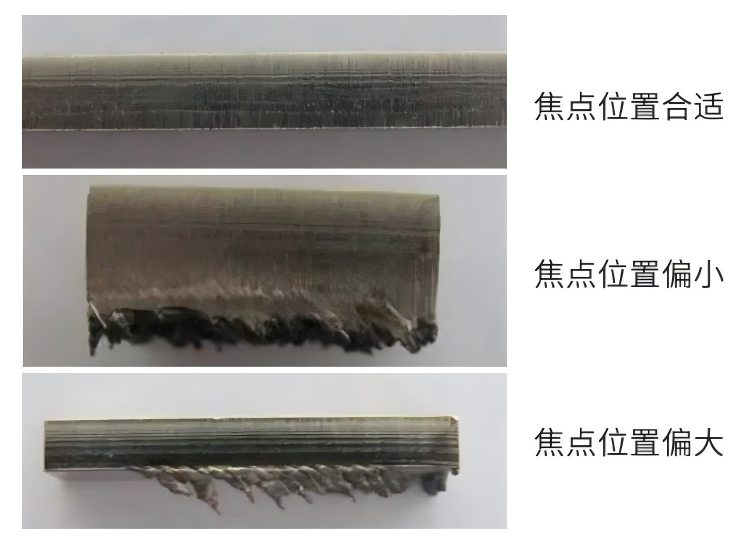
Check Focus Position
Problems:
- Too advanced focus causes the lower part of the workpiece to absorb excessive heat, making melted material flow liquid along the lower surface and solidify into spherical dross.
- Too delayed focus prevents the lower material from absorbing enough heat, leaving incomplete melting with sharp, short residue adhering to the lower surface.
Note: Focus position (distance from laser focus to workpiece surface) directly affects surface roughness, kerf taper, and width.
Solution: Check and adjust the focus position based on offset measurements to ensure laser energy concentrates at the optimal height.
TIPS: Focus is the "energy point" – a minute error leads to major defects.
Check Cutting Speed
Cutting speed directly affects processing efficiency and quality, requiring precise settings based on material and thickness. Either too fast or too slow speeds cause rough surfaces and dross defects. Only appropriate speed ensures both cutting efficiency and quality.
Problems:
Too fast: sparks deflect, material isn't fully burned, leaving dross.
Too slow: excessive heat buildup, oversized molten kerf, rough surface.
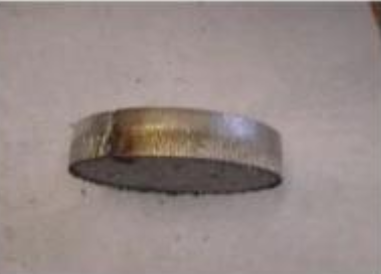
Defects from improper cutting speed
Solution: Precisely adjust cutting speed. Observe cutting sparks: normally, flames spread downward. Deflected flames indicate excessive speed; condensed, non-spreading flames indicate insufficient speed. Proper speed shows stable drag lines on the cutting surface without lower slag.
TIPS: Speed is the "pace setter" – must be just right.
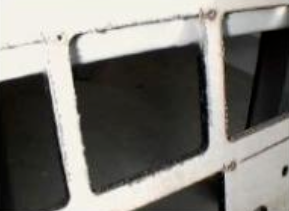
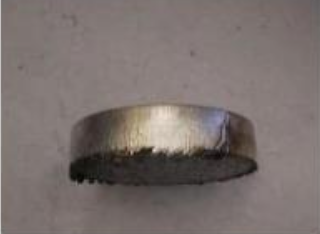
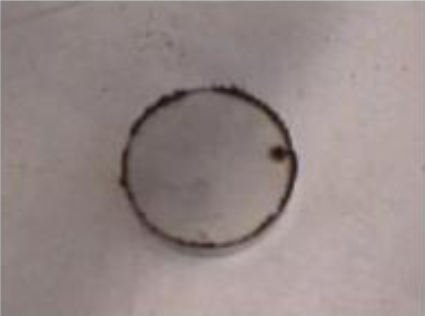
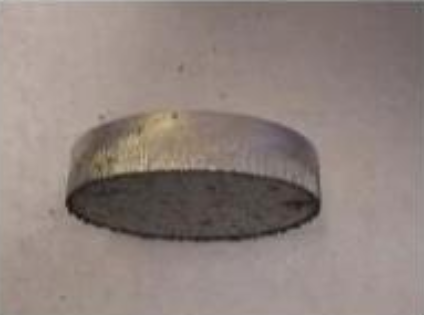
【Quick Reference Guide】With Actual Photos of Cutting Defects
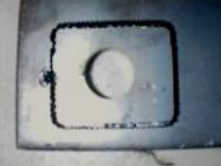
Stainless Steel Cutting Defects
Defect Photo
Possible Causes
Solutions
Speed too high
Focus too low
Power too low
Reduce speed
Adjust focus position
Increase power
Center misalignment
Nozzle clogged or out-of-round
Optical path misalignment
Check center alignment
Check nozzle condition
Check and adjust optical path
Focus too low
Raise focus position by 0.1-0.2 mm increments
Nitrogen pressure too low
Increase nitrogen pressure
Focus too high
Lower focus position by 0.1-0.2 mm increments
Cutting speed too high
Reduce speed by 50-200 mm/min increments
Focus too low
Raise focus position by 0.1-0.2 mm increments
Low nitrogen purity
Oxygen or air in gas line
Check nitrogen purity
Increase purge time to clean gas line; Check gas line for leaks
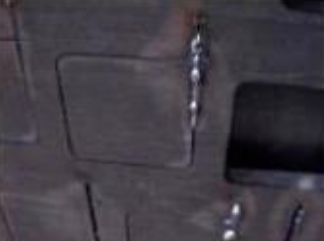
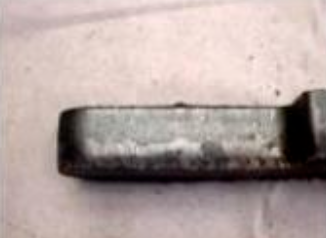
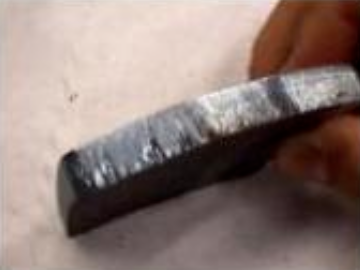
Carbon Steel Cutting Defects
Defect Photo
Possible Causes
Solutions
Lens center misalignment
/Nozzle clogged or out-of-round/
Optical path misalignment
Check lens center alignment
Check nozzle condition
Check and adjust optical path; Re-calibrate beam alignment
Incorrect lead-in length or type
Incorrect cutting path type
Piercing time too long
Excessive heat during cutting
Correct lead-in type and length
Check cutting path type
Reduce piercing time to ≤2 sec
Reduce peak power by 2-3% increments
Pressure too high
Focus too high
Power too high
Material quality issue
Reduce pressure by 0.1 bar increments
Reduce power
Check lens focus position
Power too low
Speed too high
Pressure too low
Increase power
Reduce speed
Increase pressure
Speed too high
Power too low
Reduce speed.
Increase duty cycle by 5-10% increments.
Increase power in 100W steps; Increase pressure by 0.1-0.2bar increments.
Localized overheating
Material issue
Change cutting sequence
Replace material
Pressure too high
Reduce speed
Reduce pressure by 0.1-0.2bar increments
Focus too low
Pressure too low
|
Raise focus by 0.1-0.2mm increments Increase pressure by 0.1-0.2bar increments |
(Some images are sourced from the internet; contact for removal if infringing.